

 I normally run Guest Bloggers on Sundays, but my internet was down and I wasn't able to add it in. So I wanted to make sure today I shared with you...
and she is here today to share a fun stencil project that I know you will love.
Make sure you stop by and follow her and to check out all her other wonderful posts.
Now on to her great tutorial...

I'm Charity from Alberta, Canada. I am the mother of four little chicklets, and I have one amazing hubby (who, by the way, has any tool I could ever need for my projects *sigh*). I started blogging because first I found out they are really fun to read, and second because I have all this creativity building up that I needed an outlet for. Although I have to say I sure get a lot more projects finished now (now that I have an audience waiting for my arrivals!) I love yard sale-ing and thrift store shopping! So don't hold me back, because come Spring I am setting my alarm to be the first at a yard sale, and will likely bowl you over in a thrift store if I see something I love and want to get it first! I love finding cheap things and giving them new life, and I love using odd bits of what I find around me and using them for projects. I love Anything and All Things Beautiful. But when you can't find it, you can make it!
His and Hers Hooks
I started out with these two wooden plaques that I got at the Michael's Craft Store. They were $2.69 each.

I primed them and painted them white. I figured I would make the project a black and white theme, since that is what she is going with for her wedding colours.

I remembered a stamp I bought that I love, and hadn't used for anything yet, and this was the perfect project to use it for. I painted the stamp with black paint and blotted on paper towel to make it a lighter more distressed shade. Although, this picture I have posted below was before I decided it needed to be lighter (I had to make a quick fix!).

I bought these knobs and two back plates at Home Depot for $1.48 (knob), $.98 (back plate).

Of course I wanted these to match too, so I painted them black as well.

I had a friend make some vinyl up to say "HIS" "HERS", and the little stinker wouldn't let me pay for it! But supposedly it would only cost a couple bucks (so keep that in mind- still cheap)

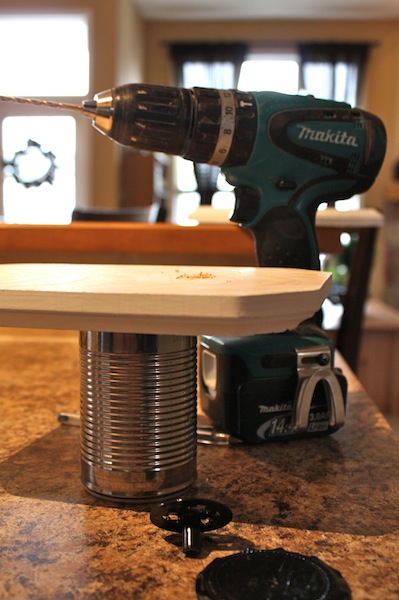
Lastly, I drilled a hole in the back to screw in the knob and back plate.
Okay... ahh, are you ready for it!
Voila!


And there you have it!
I forgot to mention that I am putting a thing on the back (I can't think of the name of it - but I know what it is in my mind), so that you can hang these on the wall, and with the little knobs you can hang anything off them... towels, bathrobe, jewelry, ties, whatever!!
I am pleasantly pleased with myself. Cute!!! Well, enough of me, I hope you get inspired!!
Cost:
Wooden Plaques: $2.69 each
Back Plate: $.98 each
Knob: $1.48 each
Stamp: Had on hand
Leveling Hanger (the hook on the back): $1.49 (set of 6)
Vinyl: from a friend
Total: $11.79
~ CHARITY ~
Thanks for sharing your great tutorial with us Charity. I love how this turned out and with a wedding in just two weeks, I am so glad I know what to make the happy couple now! Stop by anytime with your great projects.
Make sure you stop by and comment on Charity's Blog and let her know how much you love this project.

Permission was received to copy and paste over this tutorial. Thanks!
That looks awesome, and so easy to do. (daydream) I can't wait to be in my own house so I can finally set a theme and get to decorating DIY style.
ReplyDeletesuper cute! now a followers of hers!!
ReplyDelete