-

Friday, April 30, 2010

♥ Shutter Love Top Ten Photos ♥

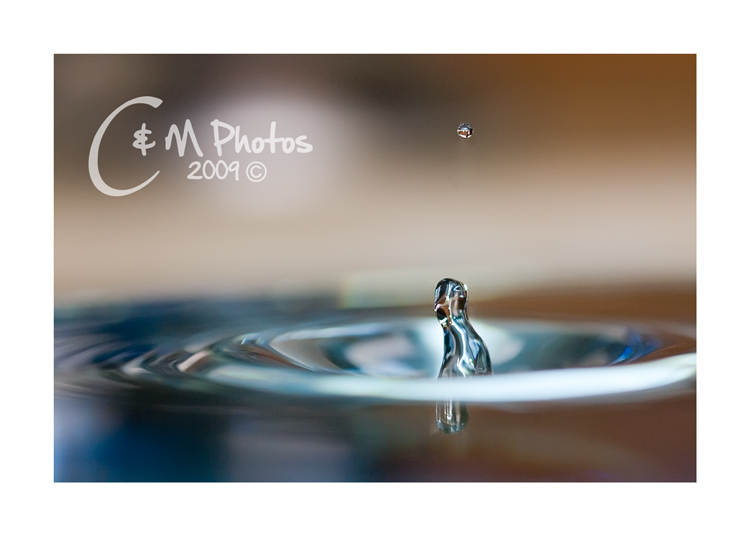
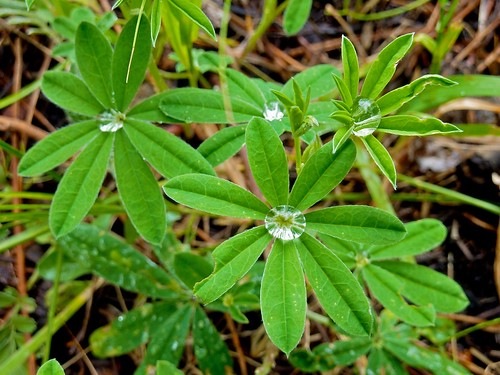
Top 10 "Water" Photos

Our #1 pick is this amazing shot by Miss Angie over at
"My So Called Chaos"
Congrats Miss Angie! Great Shot!


June0409_0086ew

H2O drops by Raznoggle.

#5 - His Eyes from Kreativ Knack

#6 - Camels Like Water from The Inadvertent Farmer
 

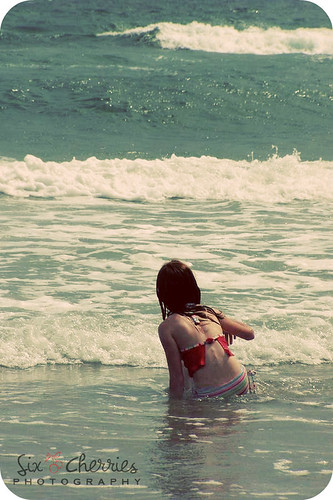
#7 - Water, Water Everywhere from Six Cherries on Top
l_434d1a7497907c4eea03f41e7113b048 copy by sixcherriesontop.


#9 - Joy

#10 - Cool Band Photo by Susan

And our "Viewer Choice" this week is...
Well there was a tie between #13 & #24
so since #24 was chosen in our top 10 this weeks VC is #13
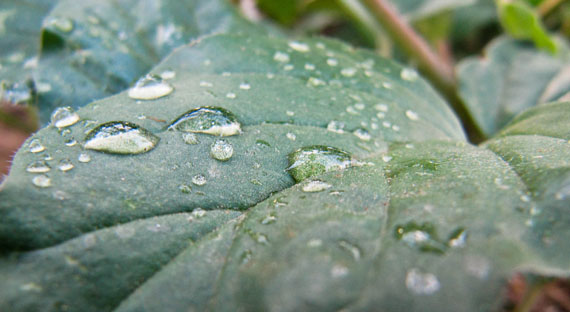
Water Droplets from "Blogging from Bolivia"
Congratulations!
IMG_1564


Thank you to everyone who entered their photo. 
Please come back Tuesday for the theme "CHILDREN"
Remember to share with friends by copy and pasting the blog hop code this Tuesday! 
If you are a winner, make sure you pick up your Button
Continue Reading ...

Thursday, April 29, 2010

♥ On a Personal Note ♥

On a sad note... One year ago today, our family lost someone very special to us. This was the type of man that you wanted to be around everyday. He was everyones best friend. Easy to talk to. Understanding and helpful when you needed someone to talk to. We were proud to call him our family. We love you Norbert and miss you so much. There is not one day that goes by that we don't miss and love you.
 When you lose someone so wonderful and don't get the chance to say goodbye, it just crushes you. I wanted to share this song "God Only Knows" by Orianthi with you all. I listen to this song when I need a good cry. Wishing I could have said goodbye. Everyone should get that chance though I know its not possible.
Another great man in my life was my Papa. I was in high school when I lost my Papa and I had the opportunity to sit with him in his final hours. It was amazing to sit and talk. We shared stories and laughed. I even showed him my newly taken Senior pictures. He showed me his favorite one, then it was time for me to head off to bed. I knew time was close for him letting go, so I gave him the biggest hug I could. As I stood up to walk away, my Papa looked at me with the kindest smile and then winked. I will never forget that moment. I knew it was our final goodbye. He passed early that next morning and when asked if I wanted to say goodbye one last time. I said no. I wanted to remember that sweet wink and smile. It is burned in my memory forever.
This next song "If I had Only Known" by Reba has been another good song I listen to. The words in this song stick with me too. "If I had only known it was my last night by your side, I pray a miracle to stop the dawn""And when you Smiled at me".... I will never forget that "Wink & Smile" I love you Papa.

I wanted to remember these special men in my life today.
My prayer today... that we come closer to finding a cure for Cancer.
I hope these songs can bring comfort to just one of you. Thanks for reading!
Continue Reading ...

Sunday, April 25, 2010

♥ Guest Blogger ♥

Another exciting Tutorial from this weeks "Guest Blogger"
Pot Holes and Panty Hose

You just have to stop by Rebekah's site and check it out. She has a very fun way of crafting that I know you will just love, love, love, like I do!

 On any given day at Pot Holes and Panty Hose, you might find me blogging about remodeling one of our rental properties, shooting a photo session for a client, on the road with my rock 'n roller of a husband, or creating some arts and crap for my home.  I am pretty normal by my own estimation.  But no one else agrees with me on that.  Come visit me and judge for yourself.  But please be nice, I am a delicate flower.

~Love Rebekah @ potholesandpantyhose.com


Scrappy Plywood Art

I am not a professional painter, by any means. However, what I do have is plenty of time on my hands, leftover remodeling bits and a little creative inspiration. A small budget and the need to have some crap on my walls is my creative inspiration.
Today, we are going to make a piece of art from cheap plywood. And, it’s gonna be awesome.
What you will need:

Oops paint (this is paint that has been mis-tinted and is usually $5 a gallon at most hardware stores), or leftover paint you no longer have feelings for.
A paintbrush, sanding block or sand paper, a tape measure, a skill saw with a wood blade, polyurethane (I use the fast drying kind) and a scrappy piece of plywood.
I spare EVERY expense when it comes to art that I might burn later on if I hate the outcome. Get the cheap ‘chipboard’. It has a blue edge. A 4x8 sheet of this stuff costs around $10, or go by a salvage store and buy some scrap.
You will need an electric drill and 2” drywall screws (that is, if you want to hang your art directly onto the wall like I do.) Otherwise, you can mount picture hanging devices on the back and hang it the old fashioned way.
Custom measure how big you want your artwork to be. Draw a line with a level and cut that sucker.
I wanted a large piece over our bed, so I went with a 4’x3’ piece of scrap plywood.
Sand the edges and any burrs that are sticking up on the face of your plywood lightly.
Next, draw a silhouette-type design on it. I decided to go for a deer head with antlers.
I know, don’t freak out. If you think you can’t draw, google ‘silhouette’ and find a design you like. Print it off and outline your design like you are in kindergarten. 
Don’t worry, it doesn’t have to be perfect. 
Check out my line work below and it will make you feel better.
Use your oops paint to fill in the silhouette. Again, it does not have to be perfect. This is a rough piece of plywood and the paint will not go on in a straight line all of the time. That’s what makes this cool...and easy.
Paint the edges of the plywood and wrap it around to the front of your painting about a half of an inch. This will make a nice border to showcase your awesome talent. 
After your paint has dried, break out the polyurethane. I usually buy one of those disposable foamy brushes, but I didn’t have any on hand. If are applying polyurethane with a paintbrush, make sure that it is an ‘oil’ paintbrush. You will also need mineral spirits to clean it out. Yuck.
Thus the reason why I usually buy a foamy brush.
Let the poly dry. You can apply a second coat of poly if your wood is really thirsty or you want it doubly shiny.
Now is the glorious moment. 
I hung this piece by drilling straight through with 2” drywall screws on the black sections of the silhouette. I then touched up the screw heads with more black paint.
You can also use picture hanging devices that attach to the back side of the plywood and hang it as most normal people do.

But you know I have never enjoyed being normal...


~ Rebekah ~
Thanks Rebekah for a fun project!! We know we will be seeing many more great projects from you! READERS, don't forget to drop by and give a terrific comment to Rebekah and check out her many other great posts!!!
Continue Reading ...

Saturday, April 24, 2010

Shred Sled Review

Are you ready to SHRED!?
Start shredding in no time with the Shred Sled, the next generation caster board. The first 4-wheel, dual-deck inline caster board, the Shred Sled makes it smoother and easier to start carving up the streets. How it works: Shred Sled’s two boards and flexible connector allow both boards to rotate around the vertical and horizontal axes so it’s easy to maneuver the board. The best part is you don’t even have to push off! For better control and traction, each deck has a grip surface to maximize traction and stability while the concave decks make for better foot control.
The 4 x 80mm polyurethane wheels and ABEC-5 bearings are smoother and stronger than standard hardware and unlike other boards, rarely need to be replaced. Riding the Shred Sled feels like a combination of snowboarding,skateboarding and surfing and it’s much easier to control than older 2-wheel generation boards. Great for strengthening the legs and waist muscles, Shred Sled encourages kids to get off the couch and get active outdoors.

The Shred Sled is Available in black, blue or red. Weight: 8.7 lbs; Dimensions: 9.055″W x 32.87″L x 4.72″. For Ages 8 years and up. Approx. Retail Price is$119.99 and is available NOW!
*Be sure to wear a helmet and safety gear when using the Shred Sled*

★ I got the coolest Shred Sled to review. This unique skateboard is amazing. Boys you are going to have fun with this. Well anyone is really. Our whole family has tried this out and it was a real hit. A little tricky at first, but once you get the hang of it it is really fun. And I have to say great exercise too! The Shred Sled definitely encourages kids to get up and go get active! I would recommend the Shred Sled for any family. They would make great gifts for any birthday or holiday. Get yours today! 

Where to buy the Shred Sled : http://www.shredsled.com/ or see a list of retailers athttp://www.shredsled.com/WheretoBuy.aspx
Things that I love...
  • Easy to Maneuver – with Vertical & Horizontal Axes
  • Not just for kids- the whole family will have fun with this unique skateboard
  • Great exercise – strengthens the legs and waist muscles
  • Encourages kids to get out and get active
  • Where to Buy – over 250 independent skate and surf shops around the country
  • Follow the Shred Sled on Twitter
  • Check out their Facebook page for great current information
  • Featured Shred Sled Videos – Check out these awesome videos!
  • YouTube – Go check out their cool videos on their youtube channel
  • Testimonials – Here what their customers have to say!
The featured product {s} in this post were provided to me free of charge by the manufacturer or pr company representing the company. All opinions expressed in this review are my own and not influenced in any way by anyone. Trendy Treehouse Disclaimer/Terms of use.
Continue Reading ...

Crayon Letter Shadowbox: Tutorial

The end of school is approaching quickly,
and while my children are still too young for school
I know a LOT of teachers (my mom teaches 2nd grade).
I know teachers receive lots of gifts at the end of the year.
Why not make a really special gift for around $12
that doesn't include candles, lotion, or candy.
(I know my mom loves to receive gift cards
so if that's your only option go for it).

I made these crayon letters for my kiddos
but I think they'd make GREAT teacher gifts too.
And while this is not my original idea,
I have NO idea where it came from,
because I have mommy brain and don't
write everything down like I should.
So, if this is your project leave me a comment
so I can give proper credit,
and if you've done this before and know where you
got the idea let me know and I'll leave proper credit.

Anyway, enough gabbing, on with the tutorial.

What you need:
A shadowbox frame (I love the square ones)
A piece of card stock
A computer and printer
A box of crayons
An exacto knife
A hut glue gun (and glue of course)
A sharpie

The frame will be the most expensive part of this project.
I happened to find mine at Hobby Lobby
in the scratch and dent section for $6.20.
These frames usually cost $20 but often are 50% off.
You will be taking out what ever is in the frame,
but make sure to leave the part in that makes it a shadow box.
Make sense?Start by getting the letter and font you want printed
large enough from your computer to be your template.
Take the letter you printed on your computer paper
and put it behind the card stock and lightly trace
the outline onto the card stockThen just line up the crayons on the computer paper and cut them to size.
I have found that it works really well to sort of roll the knife along the crayon.
It makes a much more clean cut that way.
Rather than sawing through the crayon.
(You don't have to make your cuts on the template,
just use it as your guide)There now you've got all your crayons lined up
just how you want them to be!
Start by lightly erasing the pencil line on the card stock,
so you can still see it to know where the crayons go.
But you won't really be able to erase it very well
once the crayons are on the paper.

Then put a line of hot glue down where you want your crayon.
It works better to put the glue on the paper...
be careful because the crayons melt pretty easily!!
Once you have them all glued down you can write the persons name.
If the letter is smaller you could write the name on the side too.Then put it in the frame and you're all done!Let me know if you do this project,
would love to see your take on it!

Jamie's Signature #2

Linking Here...
Photobucket
Continue Reading ...

Friday, April 23, 2010

♥ Shutter Love Top Ten Photos ♥

Top 10 "Balloons" Photos

#9 is Also our Viewers Choice Winner!!!


Thank you to everyone who entered their photo. 
Please come back Tuesday for the theme "WATER"
Remember to share with friends by copy and pasting the blog hop code this Tuesday!

If you are a winner, make sure you pick up your Button 
Jamie's Signature #2
Continue Reading ...