I've shared the freezer paper stencil tutorial before and I LOVE a good freezer stencil painted shirt with clean edges, not much mess and quick turn around time. But some shirts call for a little more spontaneity...a little more blurred edges...a little easier prep (albeit with a longer wait time).
The bleach pen shirts are so easy to do, you just have to wait a while for the bleach to work...
I have used bleach pens on shirts in the past...
and this one...link on the picture.
Those were pretty easy to do since I just made straight lines with no significant design. I knew I wanted Micah to have a flag on his shirt since the girls had a flag on their shirts so I was trying to figure out the easiest way to make that happen. Of course freezer paper stenciling came into mind and while it always turns out great it's kind of a long process with having to cut everything with an exacto knife (because I'm not cool enough to have a silhouette machine that would cut the freezer paper for me) so I decided that I'd use the bleach pen. At first I couldn't figure out the best way to make sure the flag actually looked like a stencil. But then I remembered how I would get my scripture verses onto my paintings so I could paint the words in a way that was actually legible. So...here's how I did it...
I printed out the flag stencil that I wanted to use. I got my stencil from here. Then I colored on the back of the stencil with some colored chalk (sidewalk chalk totally works if that's all you have on hand). Then (with a piece of cardboard inside the shirt) I just traced over the stencil and the chalk was left on the shirt where I traced! This method also works on canvas (that's why my scripture paintings come out just like the font most times :)...my secret it out!).
Then I just traced over the lines with my bleach pen and called it good. Please make sure to put newspaper or cardboard inside the shirt, otherwise you'll have the reverse image on the back of the shirt ;)
Then you just wait...wait...and wait some more.
Then you rinse the bleach (which has gotten crusty) off in the sink and dry the shirt. You can wash it right away too if you'd like. I didn't have time to wash it. I didn't wait long enough for the bleach to do it's magic either. I think I may go back and put the bleach on again to get a more "white" flag. One way to tell if the bleach is working or to see how much more time you might need it to look on the inside of the shirt. The thing with bleach pens is they do tend to 'bleed' a little bit so don't try to do some really detailed picture...it won't work very well.
Here's my crew in their Patriotic ensemble!
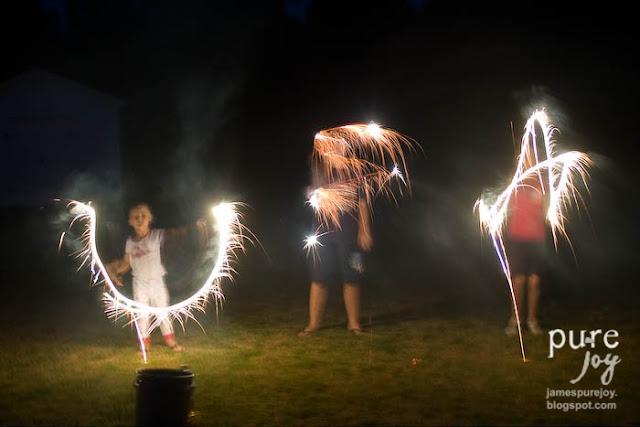
And here's one photo from our sparkler fun on the fourth! I will be sharing more later on my blog!!
Hope you had a great and fun Fourth of July!! Here's to more summer fun!!


Hi Jamie, thank you so much for sharing this great tutorial, I came over to your blog in search of easy ways to personalize tshirts for my very messy 5yo, lol and found this clever idea! I'm now following you guys on Facebook, G+ and GFC, thank you for sharing!
ReplyDeleteLizy@http://justdipitinchocolate.blogspot.com/
GREAT idea! LOVE it & pinning it.... :) Have a great day ~ Jodie
ReplyDeleteGreat project! Come link it up with us at www.fineCraftGuild.com
ReplyDeleteLoved the idea and i have made Bleached shirts for my Bridesmaids!
ReplyDelete