

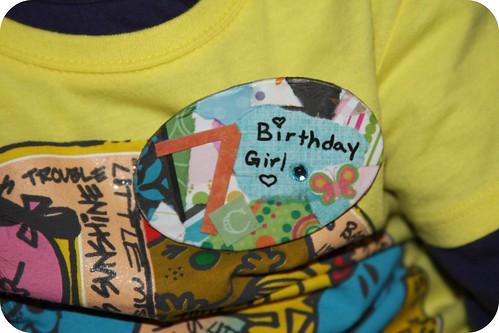
Need a last minute "Birthday Badge" ?
Make this up quickly with just a few materials.
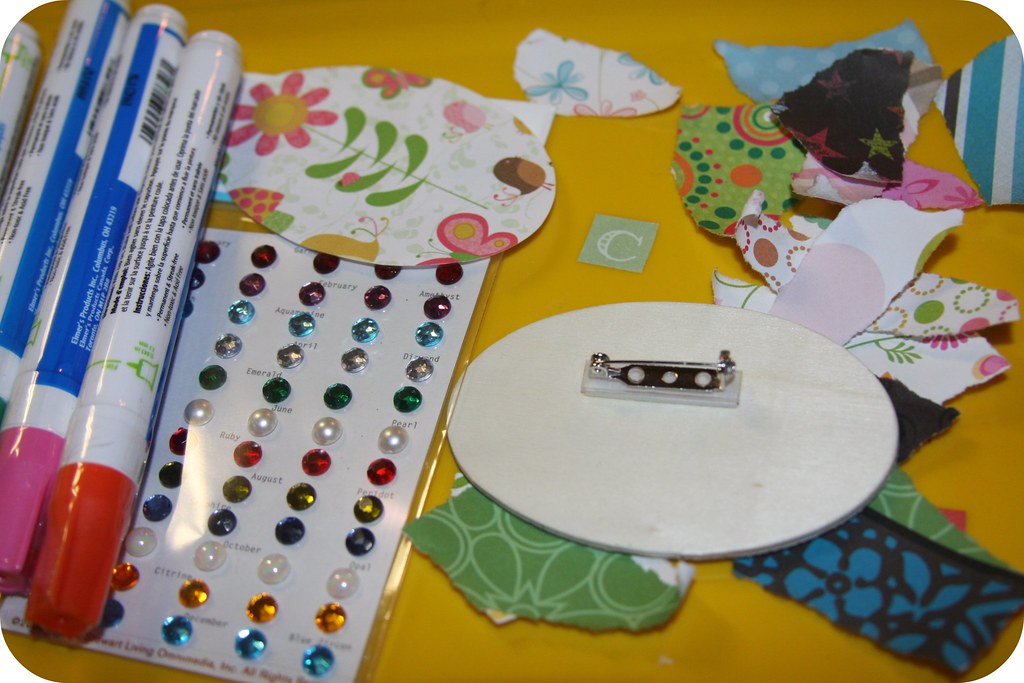
What you will need....
- Oval wood piece
- Scrapbook pieces - Torn
- 1 oval scrapbook piece for covering the back
- Mod Podge/Deco Glue
- Paint Sponge for applying glue
- Gemstone for the birthday month
- Amazing E-6000
- Paint Pen
- Pin for attaching to shirt
- One little kid to pin it on. LOL or have fun making crazy ones for adults. That is always fun!
How to make a Birthday Badge
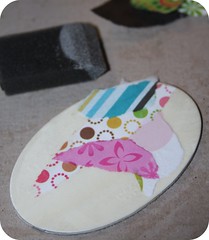
First, take your oval wood piece and place it on a surface that is either washable or a work surface that you don't mind getting a little dirty. Then start taking random torn scrap pieces of paper and start layering on. Using your glue to keep it in place. Keep layering until covered or until you just love the look. ( when layering, I fold mine over the sides so they are covered too. The back will be covered with your other oval paper. So no worries about an ugly back)
Second, Once all your pieces are added, put on another layer of glue just to make sure you have it all in place good. No lifting or bubbles.
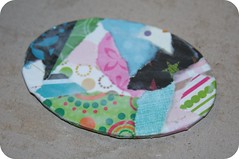
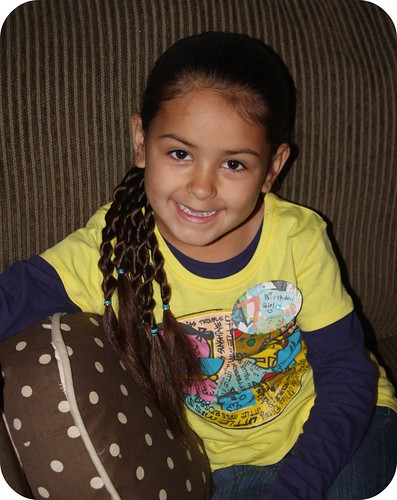
Third, add embellishments. I added the torn blue paper so I could write on it. Then the number 7 for how old my daughter was. A "C" for her name and a butterfly cuz it looked cute. LOL Lastly I added her birthstone gem. A girls gotta have a little bling. (maybe not for boys. Hee Hee)

Fourth, glue on the last oval piece of scrap paper on the back to cover up any pieces that you folded over front the front. Let Dry. Now, get your pin and some E-6000 (after everything is dry) and glue to the back of you Badge. I also used E-6000 to add my gemstone. Once all is dry, using your paint pen, write what you like. In this case, I put Birthday Girl with a couple hearts. Could have wrote better but it was truly a last minute badge made late the night before. LOL So sorry for not using Calligraphy. LOL
And finally, grab that kid of your and pin it on. They will love it.
My daughter was so excited to wear hers to school. Not only was it her birthday, but it was reward day at school for all the kids who had good behavior and AR goals. So they were rewarded with a BMX Stunt show. So cool. I happened to park next to their car, so on the way out I asked if we could take a picture. They said of course. Very nice guys. They even gave her an autographed poster for her birthday. How special. I told them I would share their info on here. So look for a review. I got it on video too! It will be neat. Oh and I can't forget to mention Pete Brandt (in the red) is the World Champ Stunt rider. So how cool was that to have them their at our school and for her to get his autograph. Thank you Cap City BMX Stunt Team and Rick DeLaney for bringing such a cool show to our school! K, I don't want to give too much away. I will save that all for my fun review.

Have fun making your Birthday Badges!

Very cool. Belated happy birthday to your tiny tot!
ReplyDeleteHi Tara, my son's 8th birthday is coming up and this gives me a great idea to do a wrestling badge for him. And yes, happy belated birthday to C!
ReplyDeleteWhat a great idea! Thanks for sharing. My middle son turns 4 tomorrow. He would love a blue superhero one.
ReplyDeleteI am a new follower from the Blog Hop.
~Allison
http://the-winfields-7.blogspot.com/
This is darling:) Thanks! I'll have to remember this when my son turns seven.
ReplyDeleteThis is such a cute idea. Thanks for sharing.
ReplyDeleteThanks everyone. It was a hit. She even wore it tonight for dinner with grandparents. Too Cute!
ReplyDeleteWould love to see your versions. Send me some pics so I can share them with everyone!
What a great idea! Isn't she a cutie :)
ReplyDeleteWonder if I could get me son to wear one to class? He's in College and has a b-day coming up. Probably not LOL
Awesome idea. Thanks for posting the how-to. I think I will give this a try for my daughter's party in a few months.
ReplyDelete