

We decided this year to make Personalized Trick or Treat bags for the kids. Love how they turned out and they were very easy to make.
Before you get started, you need supplies....we took the kids to the fabric store to look. I picked out the outer bag material. I used new sew fleece. Cute stripes for the girls and skulls for my son. Then we got the basic orange, green and black for the pumpkins. Then I let the kids pick out the fabric liners. That way they would know what bags were theirs and also to let them be involved. They are proud of their choices and I loved them. Now head on home to start sewing.
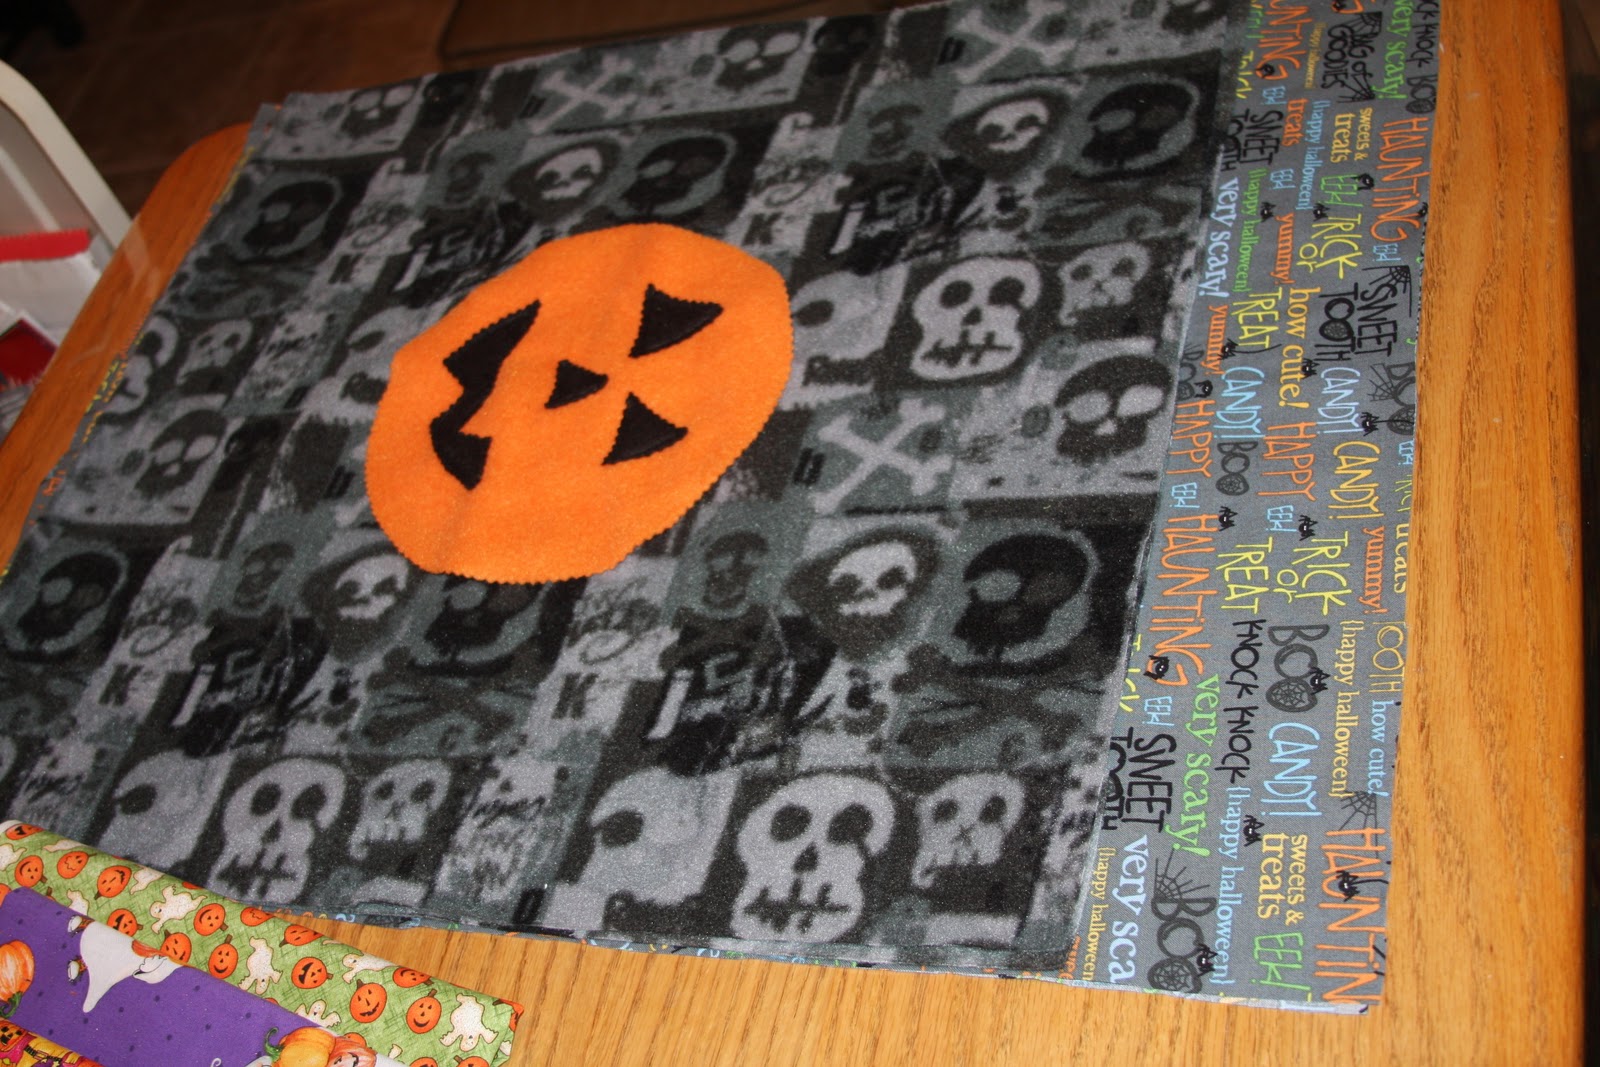
Start by letting the kids draw their pumpkin faces on a paper plate. After they draw their face, have them cut it out to use as the face template. Use Pinking Shears to cut the face out of black fleece. Don't forget you need a circle and stem too. Use Orange and Green fleece. I used pinking shears for this too. I like the unfinished look.

My youngest Caidee helping my mom pin on her pumpkin face.
See the paper plate too! That's my Cha-Cha's face. Not cut out yet.
Sew the face into place with a straight stitch. Don't forget to add a fabric liner to the back.


Now that those are done, get out your bag material (fleece). Cut to the size of a standard pillow case. Yes this is big, but most kids like to carry around pillow cases in hopes of filling the bag to the rim. LOL Plus I like the size so they can keep their jacket in their as well. It gets cold and sometimes we need a little warmth.
When cutting your fabric liner...cut it 2" longer than the bag. You are going to fold this over to give the bag and even cuter look! Trimming the top of the bag with the liner.
Next sew your pumpkin face to the front of your fleece. (before you sew the bag) Don't forget the stem.
Now sew your bag together leaving the top open. Do not sew the top yet. Turn inside out and poke out the corners.

Now grab your liner fabric. Sew with right sides together. Don't turn. You want this to stay wrong side out so you can see the right side as your liner.
Fold over and iron the top of the fabric liner. Start by folding over an 1/8", then fold over again 1 1/2". Don't sew it just yet. First you want to place the liner into the fleece bag. Make sure your liner corners are down in the corners of the fleece bag.
Now it's time to pin the liner into place. Place the folded over fabric on top of the fleece and pin in place. This will give your bag a cute trimmed look.

Sew along the bottom of the folded over fabric. (closest to the pumpkin) Then add your straps. We used a 3" x 20" fleece piece. Fold in half and sew. Turn inside out and done. Make two per bag. Measure your bag across. Mine was 20" across so I placed the straps at 7" and 13" on each side of the bag.
Once the straps are pinned into place you can sew the bottom strap in place. then sew around the whole top of the bag. Securing the straps in two places as well as adding a finishing stitch to the top of the bag.

Trip up all the excess strings and you're ready to go trick or treating.

Here are the girls versions. I love the stripes. Screams girly Halloween to me.

And here are all for of them completed. {LOVE} them!

Now hand em over to the kids so they can fill them up with lots of fun Halloween {TREATS} Use these bags all through October & November. See below for more ways to use it!

Other ways to use these bags....
- Sleep over bags...to carry their sleep over gear
- Make these with a neutral fabric and use them as re-useable shopping bags.
- Use them for wrapping a present instead of using paper
- Toy bags...for those long trips in the car
- Pillowcases for bed time...just tuck the strap in
- These bags can be used year round...be creative

I had followed your link from another blog for a blog hop today on this site...maybe you don't have it on Friday's any more? :-)
ReplyDeleteAnyway, I love these bags - so cute!
I am your newest follower from the blog hop today (even though you may not have one)!
Stop by and see me and follow back when you get a chance. :-)
Jodi
http://amomhavingfun.blogspot.com
http://jodishomebiz.com
How perfect! I wish I knew how to use a sewing machine. That is definitely on my to learn list!
ReplyDeleteLove the new blog design. Looks so pretty. :) Looking fwd to NFF next week. :)
ReplyDelete